[toc title=”Table of Contents” type=”left”] [toc_item title=”1. What is Mailchimp?” page=”1″] [toc_item title=”2. How to Use Mainchimp?” page=”2″] [toc_item title=”3. What is a List?” page=”3″] [toc_item title=”4. How to Create a List?” page=”4″] [toc_item title=”5. How to Create a Campaign?” page=”5″] [toc_item title=”6. The Final Step” page=”6″] [toc_item title=”7. What Next?” page=”7″] [/toc]
How to Create a Campaign
After importing the information into the “List”, the next step is to “Create a Campaign.” This is the important part of mailchimp. There are two ways to create a campaign, which you want to either send to your receipients or to test your campaign.
You can either click the “Create Campaign” button on the bottom left or just click “Send A Campaign” button to the right corner. Once you click the button, it will take you to another page, where you would be able to choose a template from hundreds of templates or create your own, in which you should have a knowledge of HTML coding.
Once you click on either “Create Campaign” or “Send A Campaign,” Mailchimp will take you to select the “List” to which you want to send this email campaign.
After selecting the list, click “next” to send the campaign to all the receipients or send it only to a selected people, which is called “Segment.” You will notice a link to “Send To Sement” right underneath the “Next” button to the right. The List segmentation feature allows you to filter the information that is available from your “Lists.” In other words, you can send emails/campaigns to “specific people” from the same “List.”
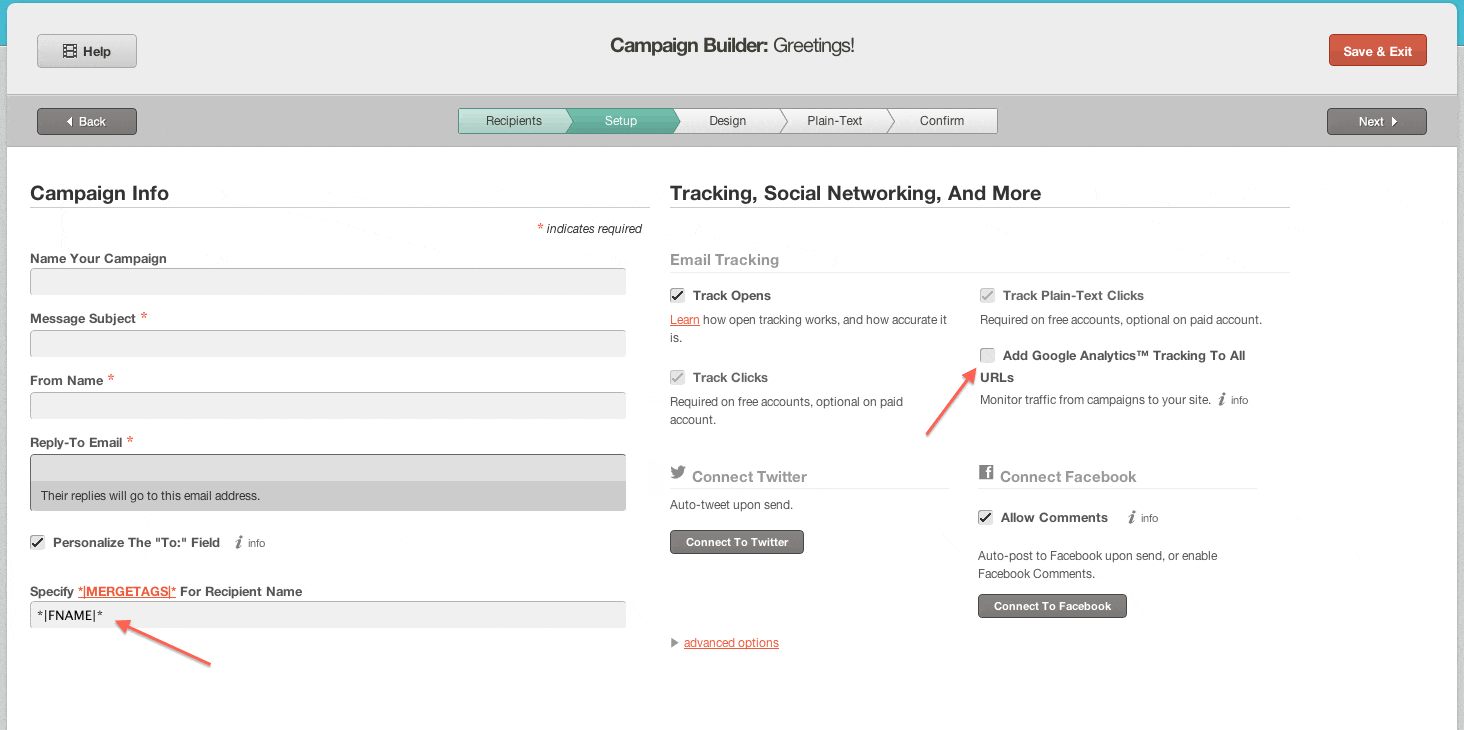
Once you come to this screen, you will notice that Mailchimp requires some information to make the campaign look more organized with fields such as “Name Your Campaign, Subject, From Name, Reply-To Email.” There are also fields with astericks, which are required fields. Mailchimp uses “Merge Tags” which are HTML tags that allows one to either “Subscribe,” “Unsubscribe,” or tags for “First Name [|FNAME|]” or “Last Name [|LNAME|]. In this part of the campaign, it will be a good idea to insert the “First Name [|FNAME|] tag, located in the bottom left column, so that the receipients will receive your email campaign with their “first names,” which might make your receipients feel more comfortable and personal, rather than looking at your campaign as some “marketing-junk-email.” Another great feature at this part of the campaign is that Mailchimp offers a tracking system. It allows the account holder to track his/her emails. In other words, if the options on the right side are selected, then after sending the email campaign, the account holder can track who opened the emails, how many times this campaign was opened, and if anyone shared this campaign on other Social Networking Platforms like Facebook and Twitter. Mailchimp also allows one to track the campaign for a broader view in regards to the demographics of the countries, or regions, or cities and so forth, by allowing the account holder to integrate the Mailchimp account with Google Analytics. To acquire this information on Google Analytics, all that an account holder needs is a Google/Gmail account. Once these are selected, the next step is to design the campaign.
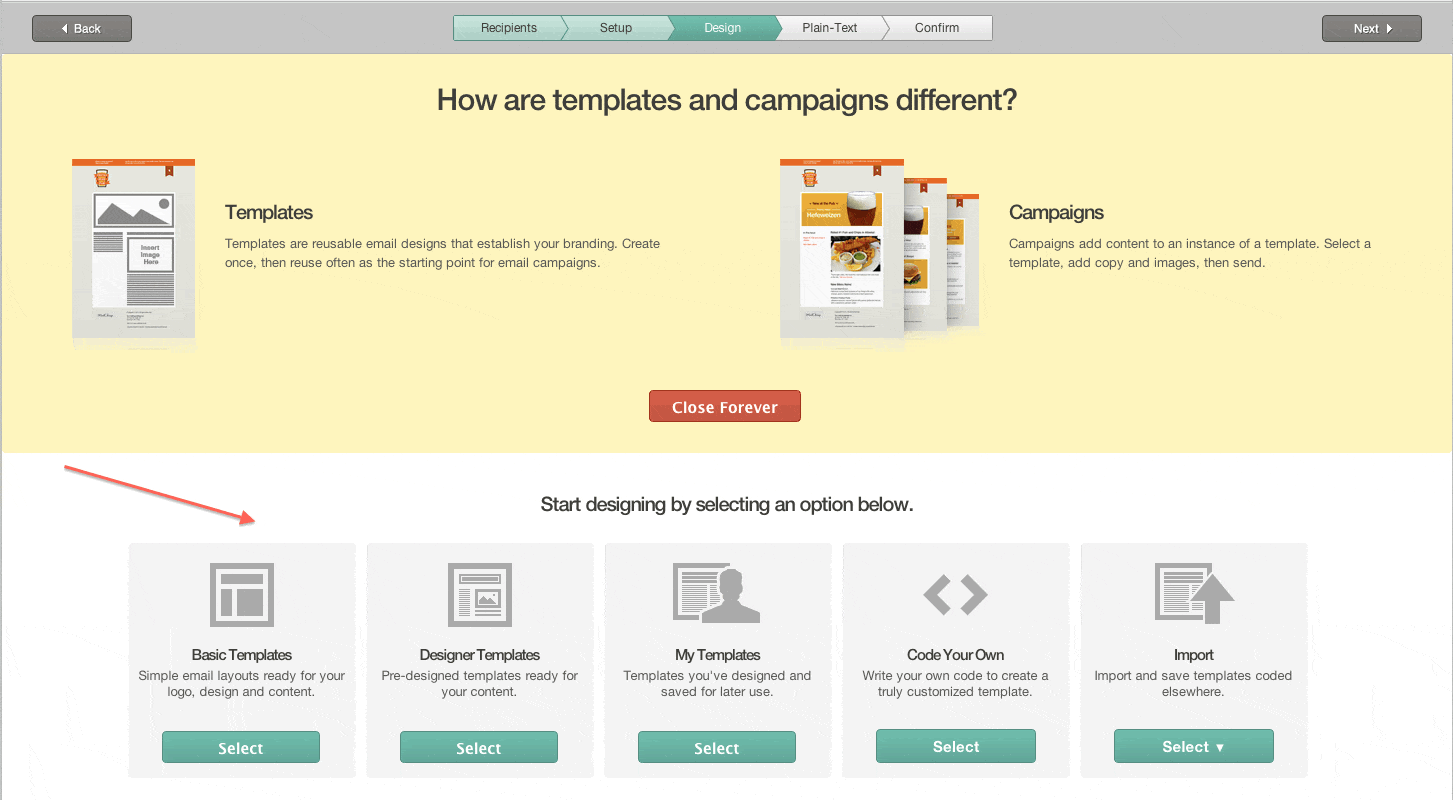
Once you come to this page, there are few options that you can choose to create your campaign. If you want to create a basic design, select “Basic Templates,” which are simple and easy to create. Or the second option is to select the predesigned templates. These templates are customizable. They can be changed or altered at anytime.
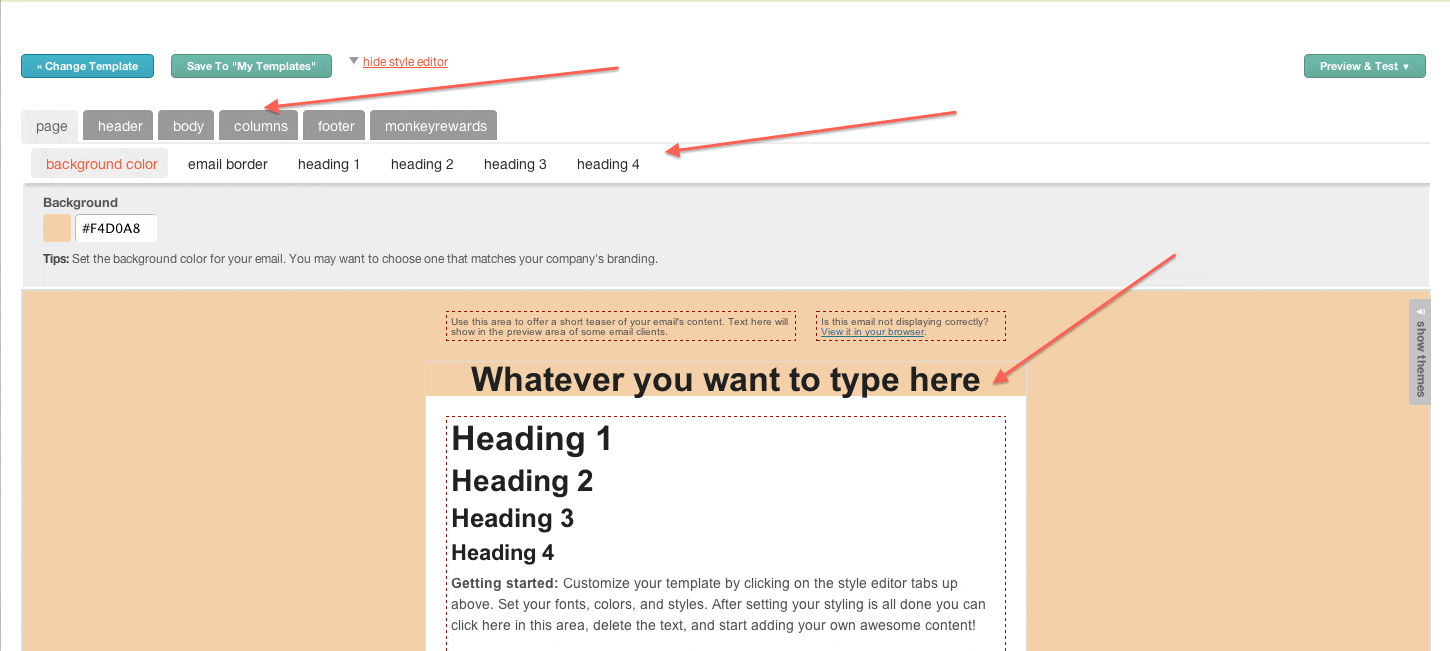
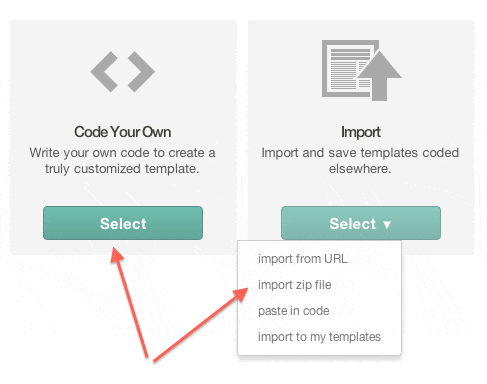
Once you select a template that fits your need or taste, add the content you would like to use. There are also other formats within these templates. If you are a HTML code editor, you can code your own document according to your needs and upload that code to Mailchimp. The other method or format is importing a folder which contains the HTML document with the images that are inserted into the HTML document. These files should be “Zipped” (same as compressing or archiving). Once the Zipped Folder is uploaded, Mailchimp will “link” all the pictures from that Zip Folder, save them on the Mailchimp servers, and link them back to your HTML document so that when you send your campaign, it will not miss any of the links that you have made with your pictures to your document. In other words, your campaign or email that is sent will not be broken.
Once you click “select” the template or submit your zip file, you will be taken to another step. Here you can test your campaign either with a preview or by test-sending that campaign to “your” email.
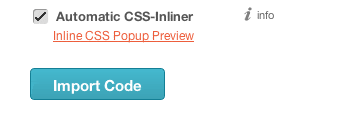
It is always a wise thing to test multiple times before you send the campaign. This will save time from recreating them over and over again and emailing them back to the recipients multiple times, which might make the recipients uncomfortable, leading to permanently blocking your emails. Before going to the final step, you should select “Automatic CSS-Inliner” right below the preview of your email. This is because some of the email services cannot deliver emails properly, therefore this is required if you “know” that all of your recipients are not up to the fast and reliable internet services.


