[toc title=”Table of Contents” type=”left”] [toc_item title=”1. What is Mailchimp?” page=”1″] [toc_item title=”2. How to Use Mainchimp?” page=”2″] [toc_item title=”3. What is a List?” page=”3″] [toc_item title=”4. How to Create a List?” page=”4″] [toc_item title=”5. How to Create a Campaign?” page=”5″] [toc_item title=”6. The Final Step” page=”6″] [toc_item title=”7. What Next?” page=”7″] [/toc]
How to use Mailchimp
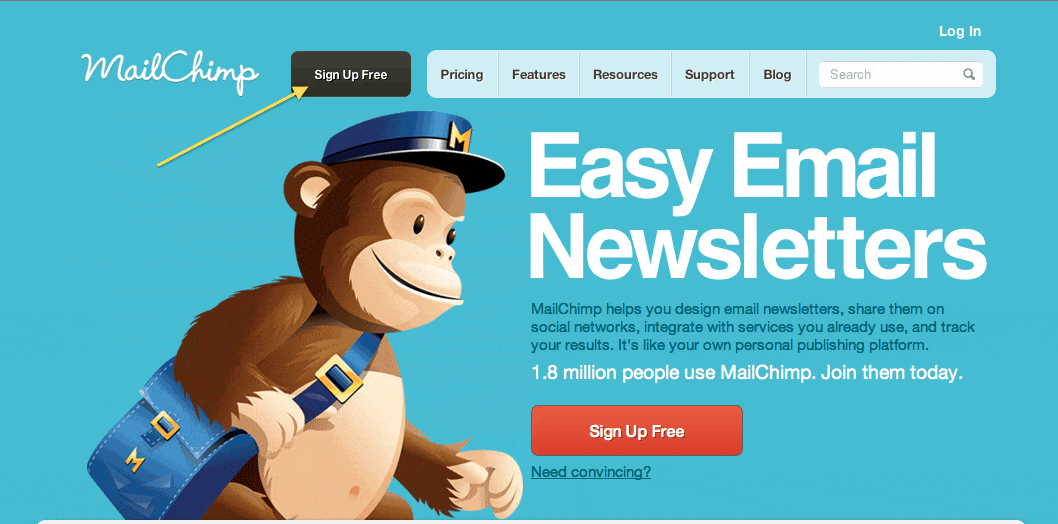
There are specific steps explained below to set up a Mailchimp account and using it effectively. The first step is to sign up for an account. Type: www.mailchimp.com in the URL bar of any browser (Chrome, Firefox, Internet Explorer, etc). The first thing you will see is the Mailchimp sign up page.
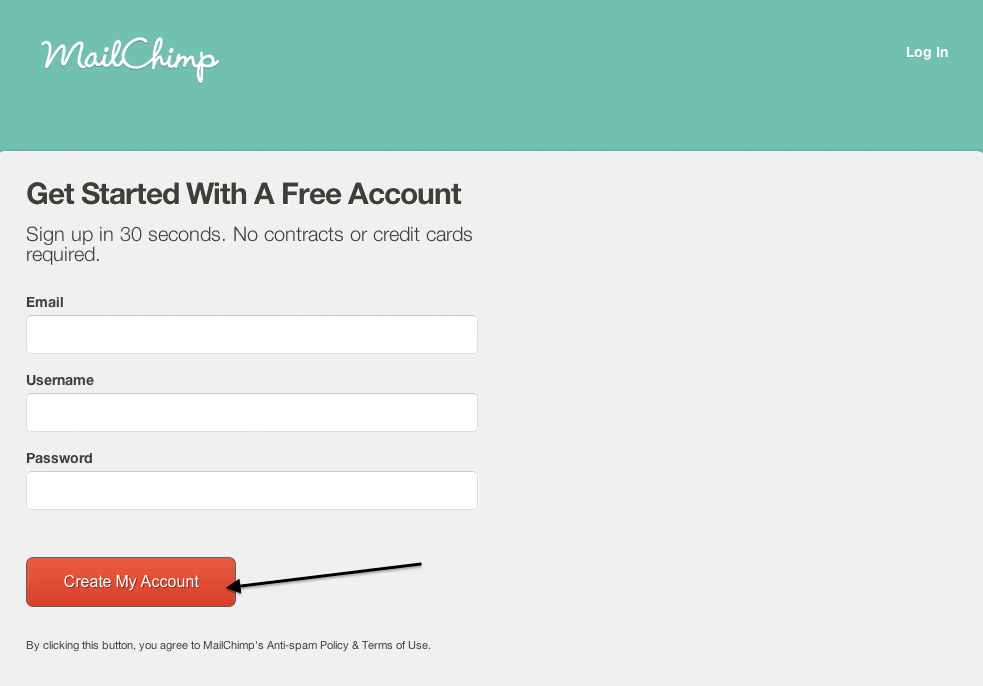
Once you come to this page, you will notice the “Sign Up Free” button on the top-left, right next to the Mailchimp logo. Click on the “sign up” button. It will take you to another page, where you can enter the details for your account such as your email address that you would like to use and your physical residence addresses. It is important to note that Mailchimp requires active-physical-residence address, so that the recipients will know where the email came from, and also for Mailchimp security purposes.
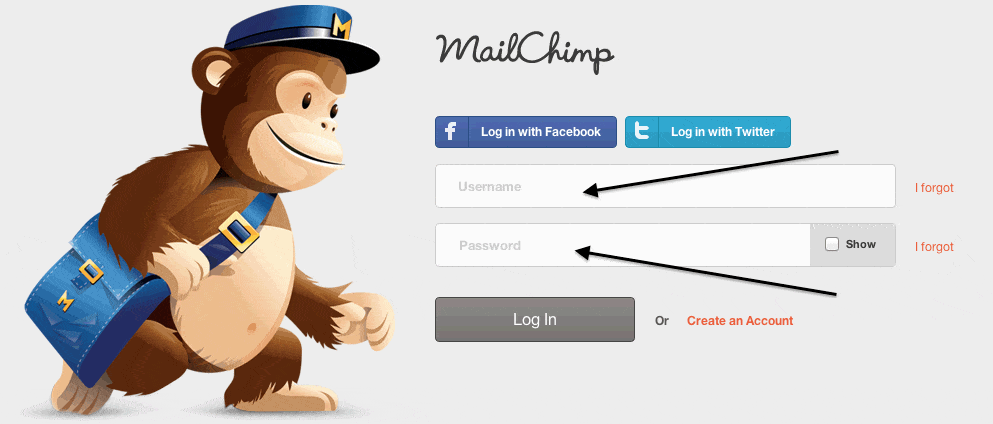
Once you create an account by giving your email, choosing a username and a password, it will take you to another screen, which is a login screen. Here you give your “just created” Mailchimp account username and password.
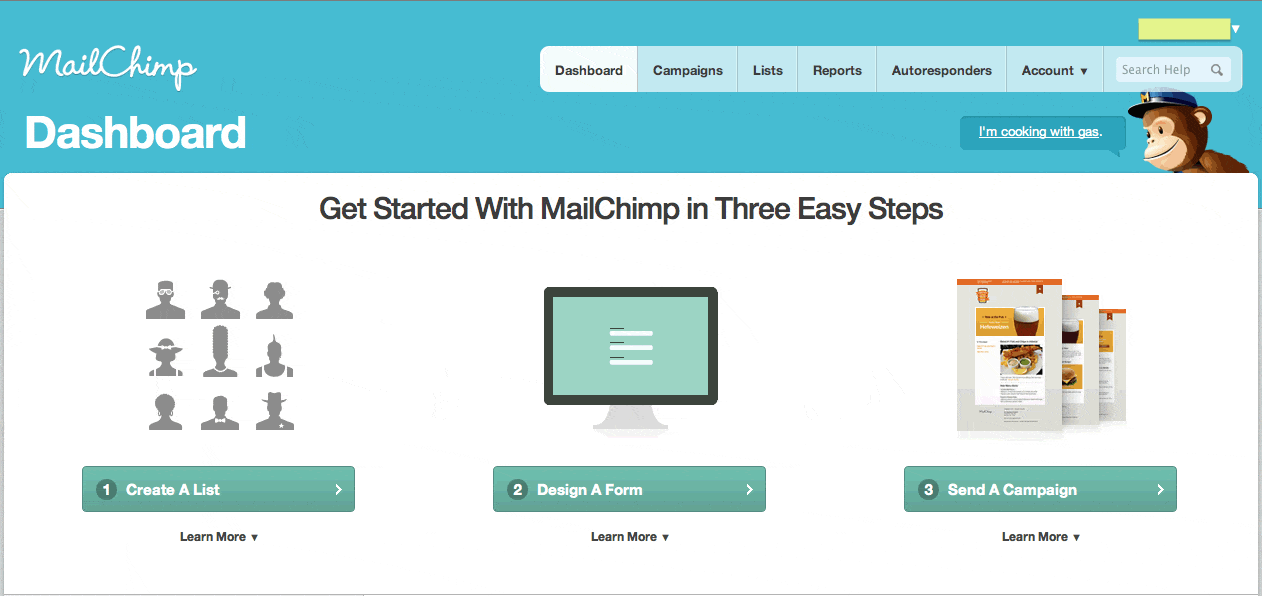
Once you log in, it will take you to the main “Mailchimp Dashboard.”
The first things you will notice in the Dashboard are three main pictures with buttons attached to them, to direct you either to create a “List” or “Design A Form” or “Send A Campaign.”
On the top bar, you will notice the tabs: Dashboard, Campaigns, Lists, Reports, Autoresponders and Account. But, the first thing to do after coming to this screen is to create a List.


